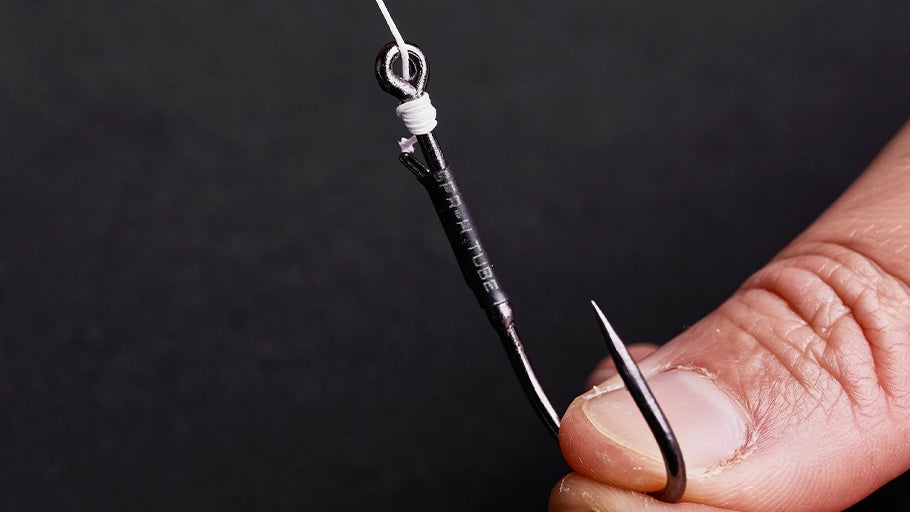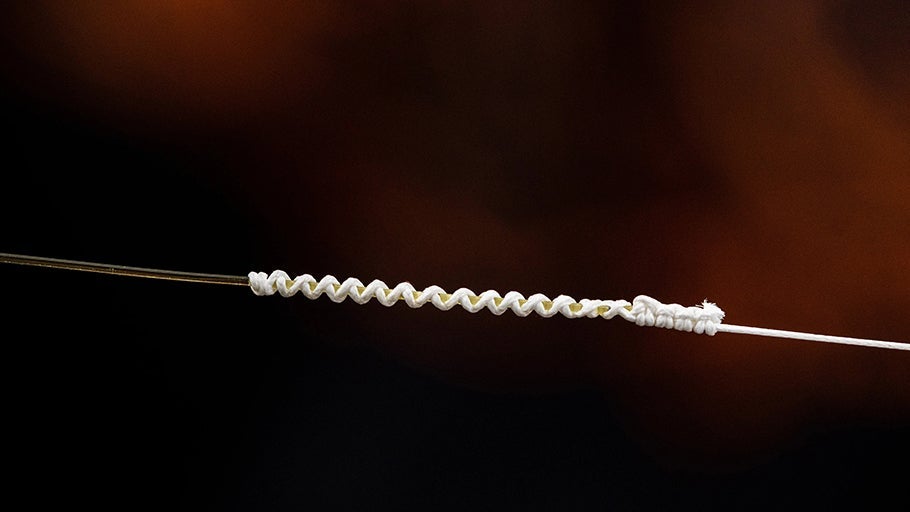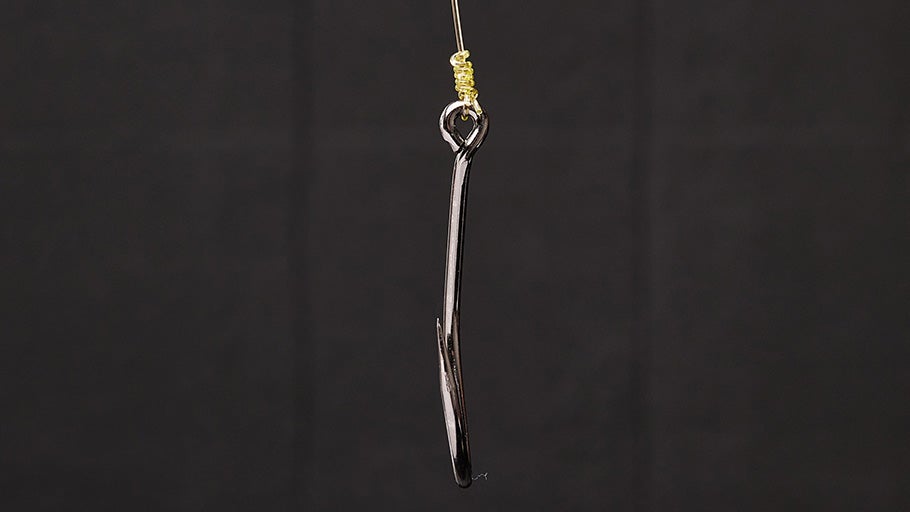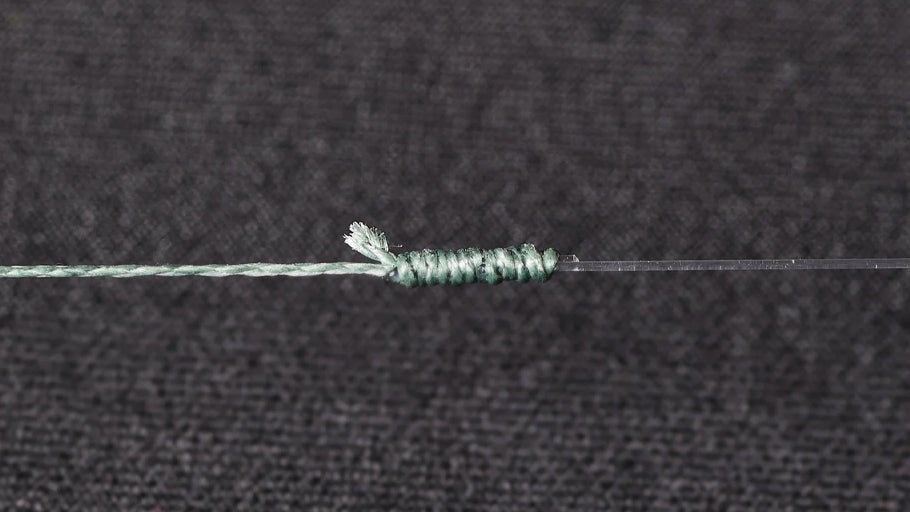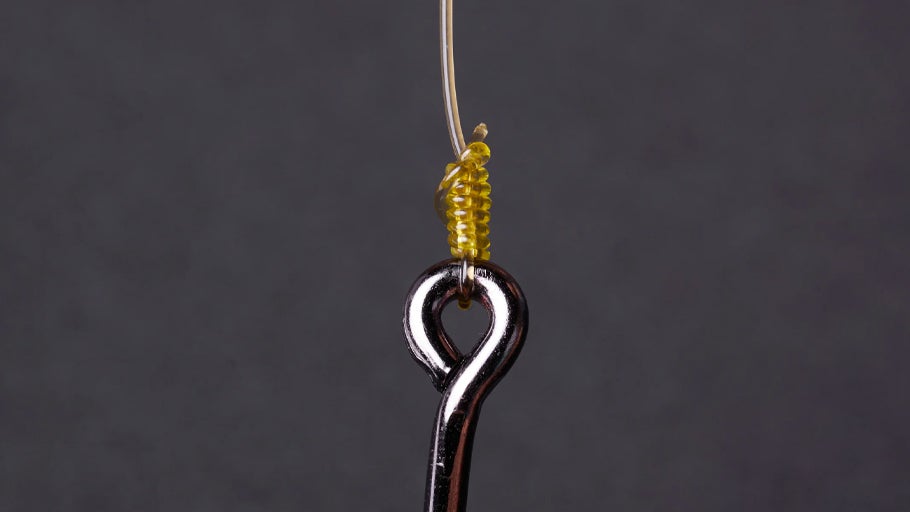
How-To Tie an RP Knot
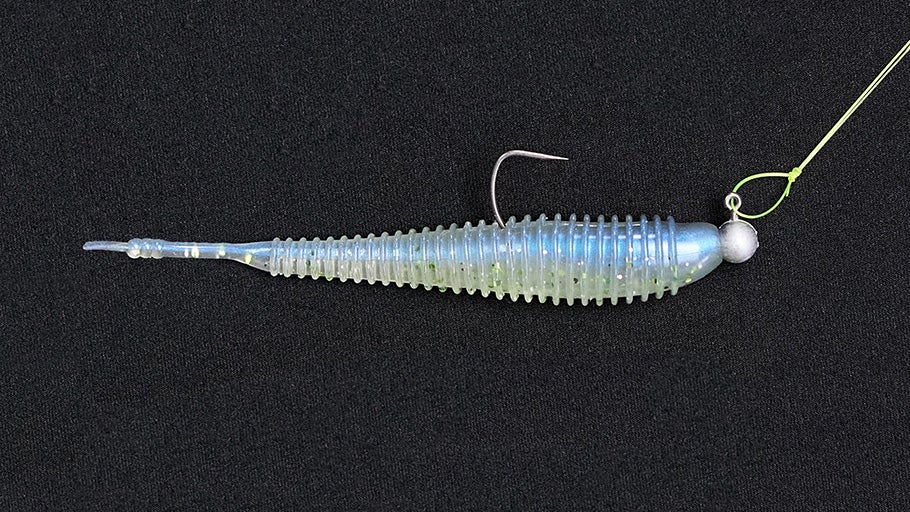
Great for a wide range of applications from finesse fishing all the way up to heavy-duty saltwater, the RP Knot is a phenomenal braid to leader connection knot that anglers can utilize when they want the benefits of running a multi-line system. Relatively quick and easy to tie, the RP Knot is thin, flies through guides well, and is reliably strong. This article will demonstrate a step-by-step process on how-to properly tie the RP Knot.
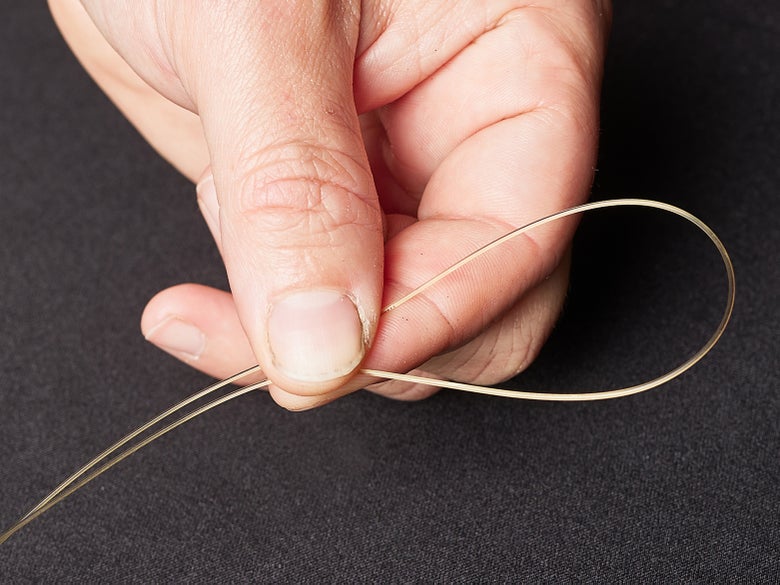
Step 1: Make A Loop
Make a loop with your fluorocarbon or monofilament leader material. The loop should be about six inches in length to give yourself enough room to wrap the braided line and complete the knot.
Step 2: Run Braid Through Leader Loop
Run your braided main line through the bottom of the loop of your leader material. Secure the loop with your finger so you what direction the main line went through the loop, which is crucial for properly completing the knot. Give yourself approximately 6-8” of tag line to work with.
Step 3: Wrap Braid Around Leader Loop
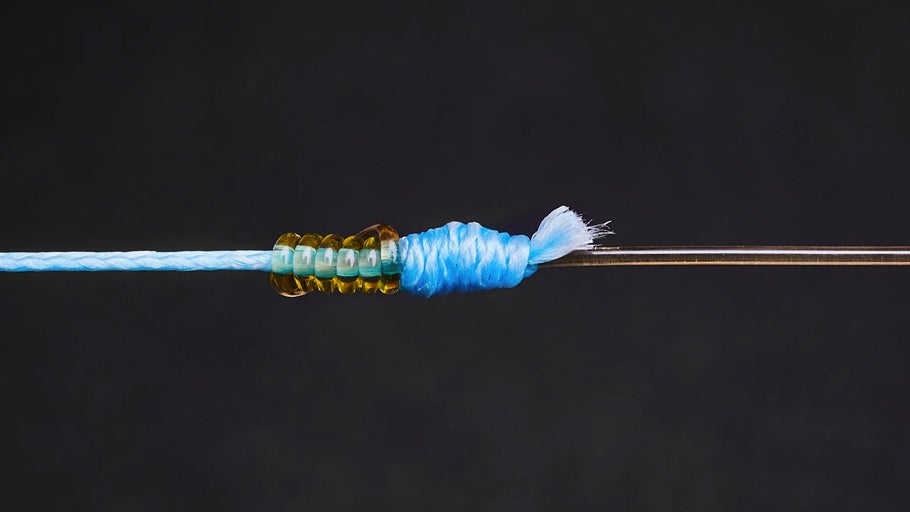
Wrap the braided line downwards around the double leader material 6-8 times.
Step 4: Pinch Final Wrap, and Wrap Back Towards Opening
After you complete the first series of wraps with your braided line, pinch the last wrap to hold the braid in place. Then wrap the braid back towards the opening of the loop 6-8 times.
Step 5: Run Braid Back Through Original Leader Loop
Run the braided main line back through the loop of your leader material the same way it started in the beginning of the knot. This is the reason for holding the loop with your finger so that you know which way the line needs to feed back through the loop.
Step 6: Cinch the Knot
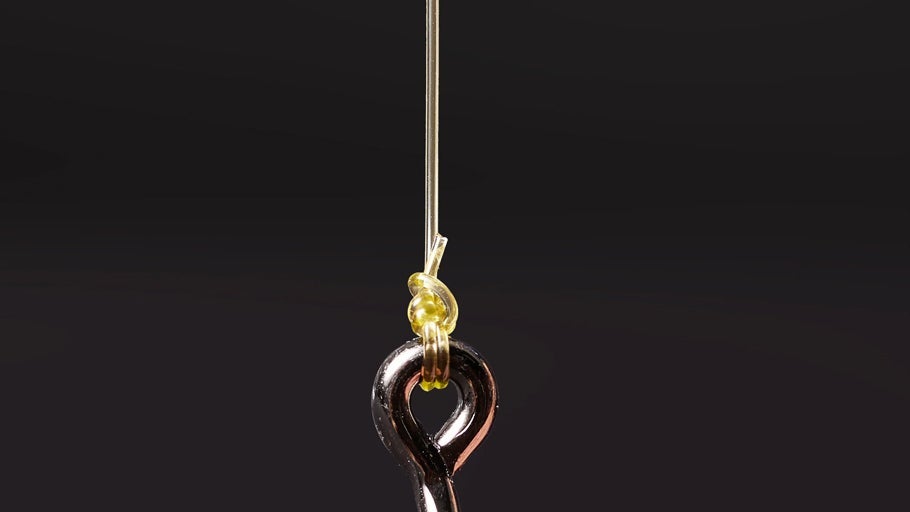
Cinch the knot by pulling all four tag ends at the same time. Moisten the knot to prevent the line from burning when cinching the knot.
Step 7: Trim the Tag Ends
Trim the tag ends. On the braided mainline side leave a small tag end about 1/16th of an inch for added security just in case the knot slips a tiny bit on a hook set or fighting a fish. On the fluorocarbon or monofilament leader side cut the tag as close as possible since the line is doubled over so that it flies through the guides smoothly.
