How-To Tie a Loop Knot
Perfect for maximizing action and allowing extra freedom of movement with a wide variety of jigheads, hooks, and hard baits, a Loop Knot can help you get more bites in finesse situations when the fish are highly pressured and desire a more realistic movement from your bait.
All types of fishing lines can be used with the Loop Knot, and the type you choose will be dependent on the lure or technique you are using. The Loop Knot is easy to learn and can be tied quickly while out on the water. See below for a detailed step-by-step guide on how to tie a Loop Knot.
Step 1: Getting Started
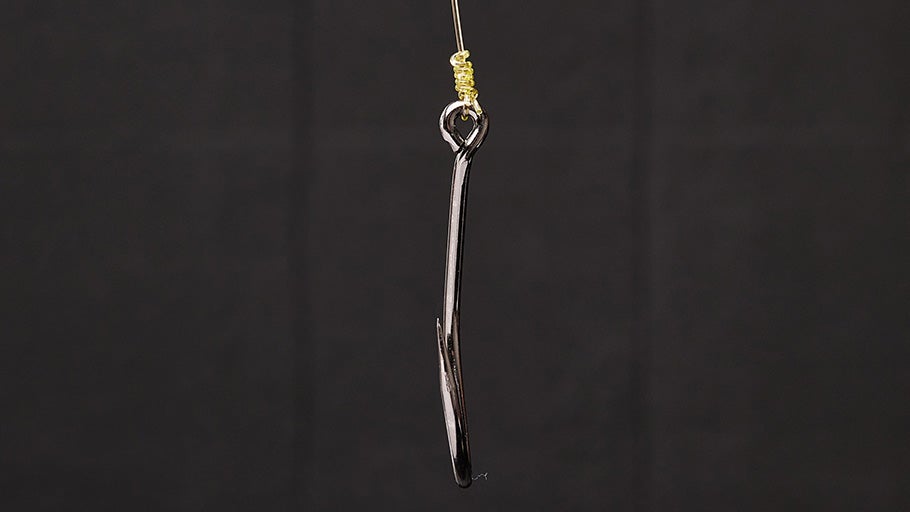
Take the end of your line and make an overhand knot, leaving a small loop about 1/4-3/8 of an inch in size. Make sure to leave 4-to-5 inches of tag end to work with.
Step 2: Identify Up and Down Facing Loops
Notice that the loop has a side that faces down and a side that faces up. Remember these two sides of the loop because you will be running your tag end through specific sides to tie the knot properly.
Step 3: Run the Tag Line Through the Eyelet of the Hook or Lure
Run the tag end through the eyelet until the loop is snugged up against it.
Step 4: Run the Tag Line Through the Down Facing Side of the Loop
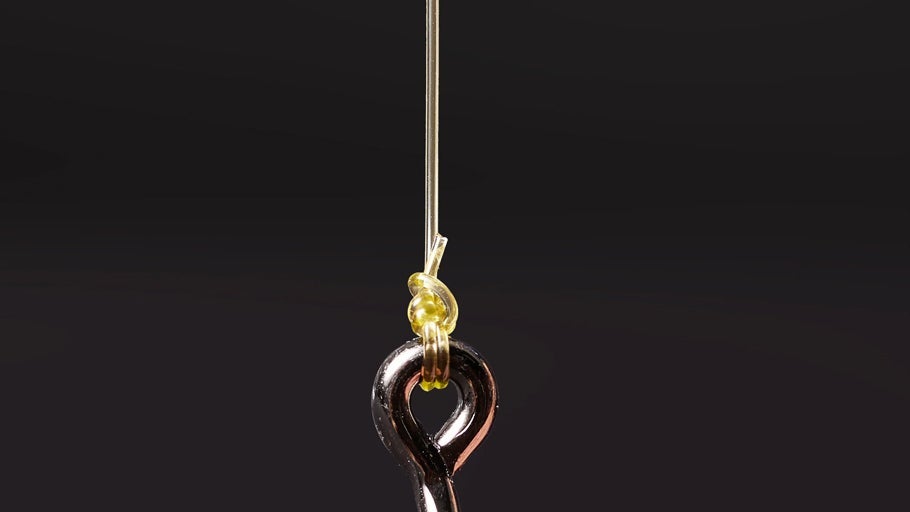
Place your tag end through the loop entering from the side that is facing down. Snug the loop back down towards the eyelet of your bait, creating a double loop. Pinch both loops with your fingers, and extend the tag end parallel with the main line.
Step 5: Wrap the Mainline
With the loop pinched with one hand, wrap the tagline over the mainline 3-5 times.
Step 6: Run the Tag Line through Loops at the Bottom
After wrapping, take the tag end and go through the up-facing side of the loop.
Step 7: Tighten Knot
To cinch the knot, pull on the tag end and the main line together. Right when you are getting the knot to cinch down you need to wet the line (saliva, water, etc.) to avoid abrasion on your line. Then pull everything together.
Step 8: Trim Tag End and You are Ready to Fish!
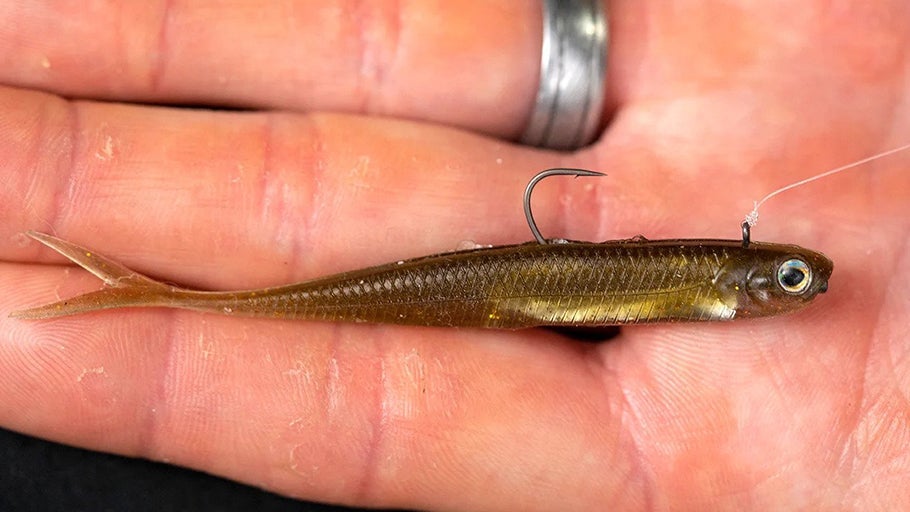
Walking baits, jig head minnows, old-school darter heads, and Ned rigs can all benefit from a loop knot to enhance action and trigger more bites. Make sure the lure you’re tying a loop knot onto doesn't have a split ring or a swinging head, as the swing head or split ring already provides the same freedom of movement that a loop knot does.
Related Articles


