How-To Tie a Double Uni Knot
As easy to tie on the water as in the garage, the Double Uni Knot is a simple and efficient way to join your braided mainline to a length of leader material. Also known as a Uni-to-Uni Knot, this reliable connection knot is perfect for coupling your braid to fluorocarbon or monofilament leaders without sacrificing strength, even when the biggest fish are testing your gear. Keep scrolling for step-by-step instructions for tying the Double Uni Knot, so you can master it and flawlessly execute it when it comes to crunch time on the water.
Step 1
First, lay your braided mainline alongside your leader so that they are running parallel to each other. The overlapping section should be from 8- to 12-inches so there’s enough line to create two Uni Knots. From here, pick and pinch together a center point where your two knots will meet, leaving plenty of tag end on either side to accommodate several wraps. A quick side note, it may be easiest to tie this knot on a flat surface until you become proficient, as the level background allows you to easily monitor progress and ensure your wraps are correct.
Step 2
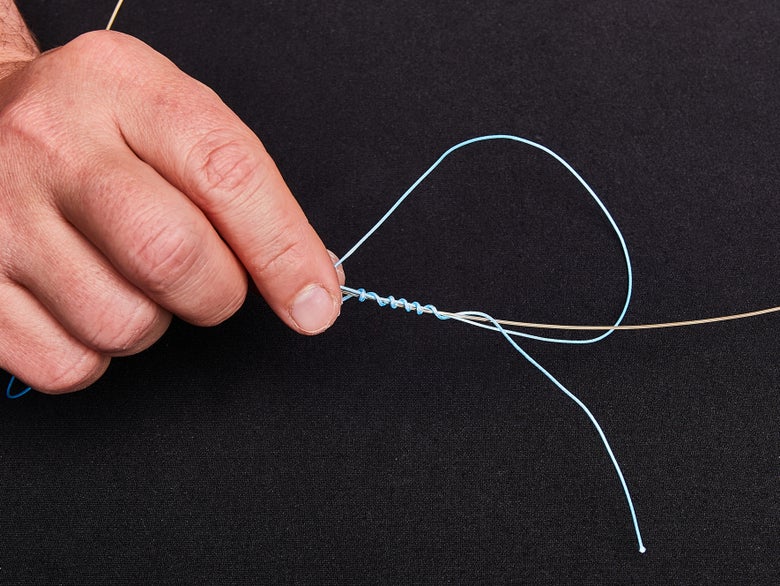
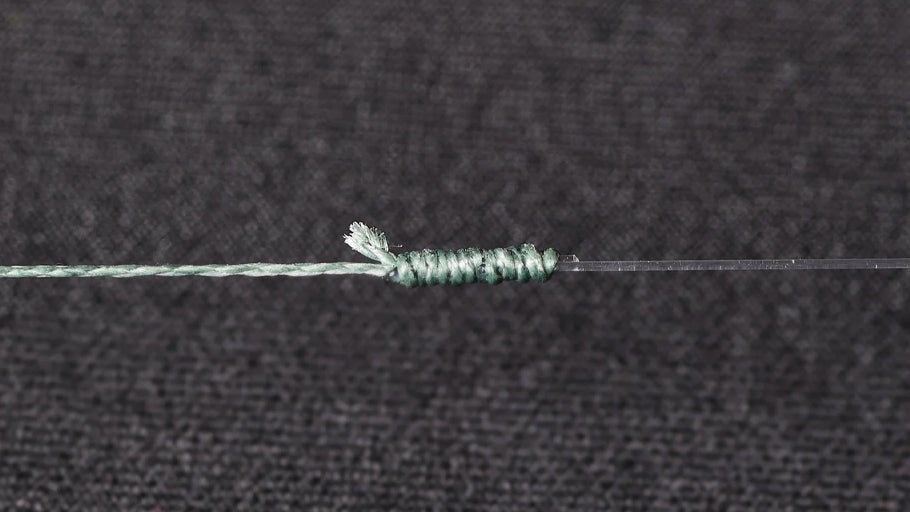
Start by making your braided mainline Uni Knot. Grab your braid tag end and bring it back toward the center point that you chose in step one. This should form a U-shape with the remaining tag end running down towards you, perpendicular to the main line and leader. Wrap that tag end around the mainline and leader line, joining them together along the base of the loop you made. For the braided tag end, you will want to do at least 6 wraps and up to 10 if you are using a light line, taking care to create even wraps that don’t overlap each other.
Step 3
Once you have your wraps completed it’s time to begin tightening the knot to hold it in place. Secure your braid tag end in one hand and the parallel leader and mainline pair in the other, and smoothly pull them apart to begin tightening your knot. You may want to moisten the knot to prevent any burning or damage to the lines. Do not fully cinch the knot, simply tighten it until the knot is formed as you will need to slide the knot down your line in a later step.
Step 4
Next create the second Uni Knot for your monofilament or fluorocarbon leader line. To do this simply repeat step two, however you can use half as many wraps and the knot will be formed around your braided mainline using your leader material. Grab your leader material tag end and bring it back toward the center point that you chose in step one. This should form a U-shape with the remaining tag end running down towards you, perpendicular to the main line and leader. Wrap your tag end around the mainline and leader line, joining them together along the base of the loop you made. For this tag end, you'll want to use at least 3 wraps and up to 6 or more if you're using lighter lines, but typically we lean closer to 6 with most bass fishing applications. Be sure that the wraps don't overlap each other, and just like the previous step, moisten the lines and tighten the knot accordingly.
Step 5
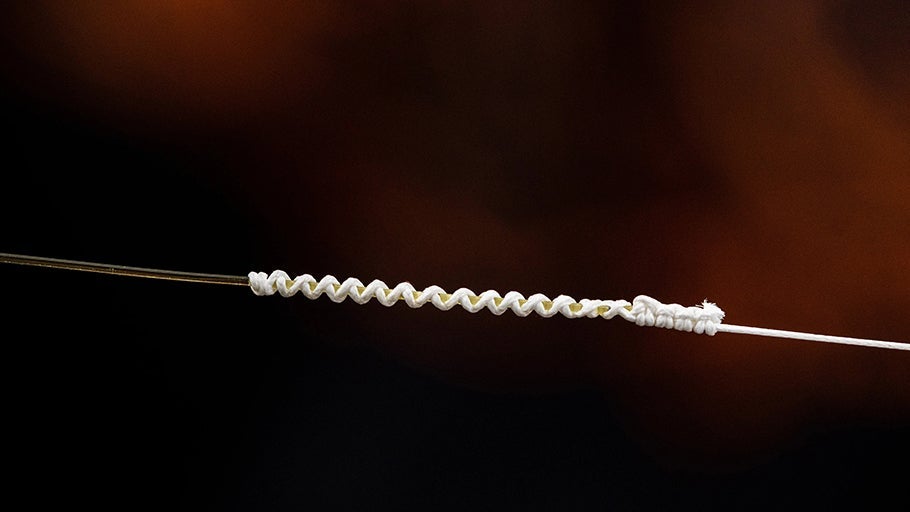
To complete the Uni to Uni Knot, you need to bring the two knots together. Slowly and smoothly pull your mainline and leader line in the opposite directions marrying the two knots you created in the previous steps. Once again it can be helpful to moisten your line here as the knots can create friction as they are brought together. Once your two knots join in the center, proceed to cinch the tag ends and mainlines down as tight as possible without damaging the lines. Trim your tag ends to finalize the procedure.
A solid connection knot with a ton of strength, the Double Uni knot is a great option for joining your braided mainline to a leader. There may be more compact connection knots available such as the FG Knot that are great for coming through Micro Guides, yet the Uni to Uni is an incredibly easy-to-tie knot, especially when in a time crunch, and boasts more than enough strength to drag monster bass from heavy cover.


