How-To Rig a Weedless Ned Rig
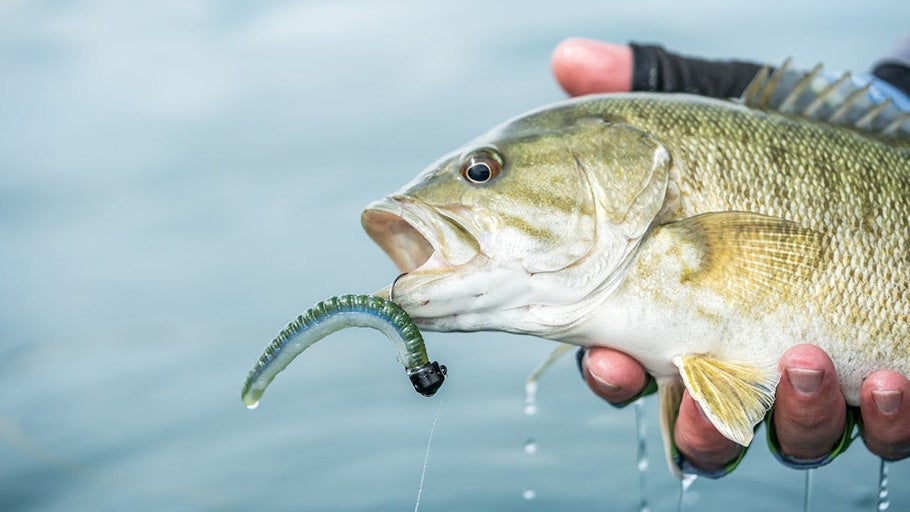
The Ned Rig is a highly popular finesse technique that can be extremely effective during times of tough fishing. Unfortunately, most Ned jigheads use an exposed hook which can snag quite easily, while jigheads that do incorporate weedguards only provide minimal snag resistance. This article will show you a different rigging method, also known as the Tiny Child Rig, that will allow you to fish a Ned-Rig-style presentation through almost any type of cover.
What's Needed
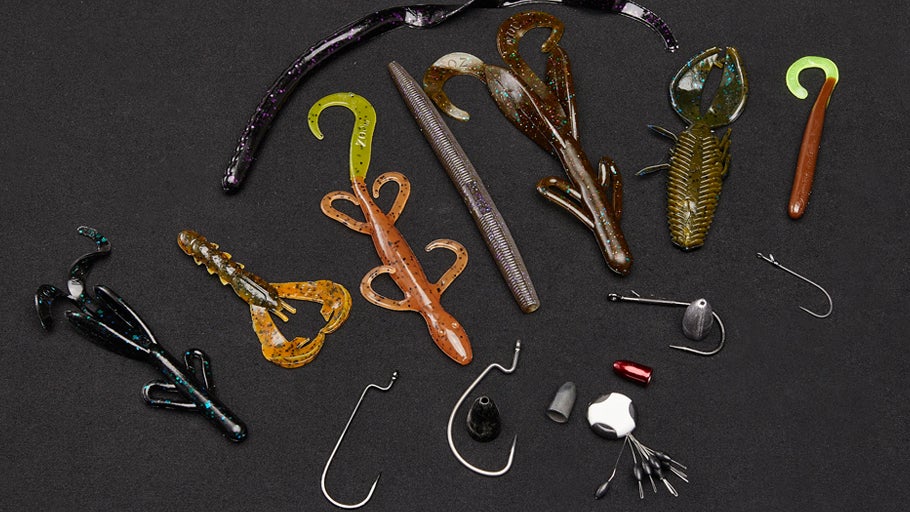
-Ned Worm
-Half-Moon Style Nail Weight
-Small Worm Hook
Step 1: Tie on Your Hook
The first simple step to this rig is to tie your hook to the line using your preferred connection knot. Any worm hook will work for this rig, whether it’s a straight shank, offset, or EWG. The most important part is to select a hook that is appropriately sized for the soft plastic and line class you’re using.
Step 2: Installing the Weight
Next, install the weight into the head of your worm. Using a half moon or mushroom style Neko weight is going to create an exposed head on the worm, which allows you to feel what type of cover you're fishing across and receive feedback that is similar to a jighead. Using a weight that is barbed or screw-in style is crucial and will also reduce accidental weight losses.
Step 3: Rigging the Soft Plastic
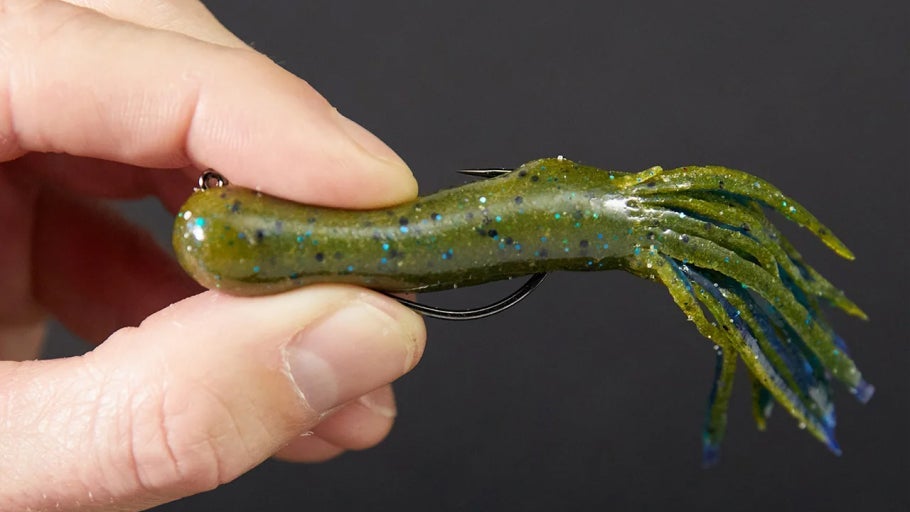
Rig the soft-plastic worm on the hook just like a regular Texas-rigged worm, but starting through the tail instead of the head, as this will create a completely weedless Ned-rigged worm. Since the weight is secured into the head and the line tie of the hook is coming out of the tail, it keeps the tail of the worm pointed upward just like a Ned Rig fished on a jighead. This rig will allow you to fish through heavy cover, grass, and structure where traditional Ned Rigs would often get snagged.


